How To Make Naturally Leavened Sourdough Starter
Wild yeast, friendly bacteria, time, and a little tending are basically all it takes to yield crusty, artisan-style loaves worthy of any Parisian or San Franciscan bakery window. Follow along as we teach you how to make a sourdough starter, feed it, then turn it into burnished loaf after burnished loaf.
Sourdough bread has had a resurgence the past few years — now’s your chance to try your hand at it. And if your first (or any) attempt doesn’t turn our perfect, it'll still be delicious. First, you need to make a starter, then feed it for about a week before making bread. Check out the info, below, that walks you through how to make a starter and feed it.
A couple of things to note: We highly recommend you weigh all your ingredients (starter, feeder, bread) using a digital scale. It’s more accurate. But keep in mind, even that can’t account for variations in humidity and other factors, so always go by the cues we give and the look and feel of your starter and dough.
Using good-quality tap water is perfectly fine (or purified water). If your tap water is heavily chlorinated, you can set a jug of it on the counter for 24 hours so the chlorine evaporates. And, if you have soft water, it can result in a dough that doesn’t hold its shape, so you might want to opt for purified water. If your house is warm, use cool water, and if it’s cool, use tepid or lukewarm (not hot) water.
Starter Equipment for Sourdough
- Digital Scale
- One-quart non-reactive container such as a mason jar, tall clear plastic deli container, or a glass bowl.
Starter & Feeder Ingredients for Sourdough
Starter:
- 113g (1 cup) organic rye flour
- 113g (½ cup) water
Feeder:
- 113g (1 cup) unbleached all-purpose flour
- 113g (½ cup) water
How to make a Naturally Leavened Sourdough Starter and Feed It
Day 1:
Stir together 113g each rye flour and water until there’s no dry flour; loosely cover and let rest at room temp (70°) for 24 hours.
Day 2:
You might see bubbles, but it’s OK if you don’t. Discard half the starter (113g/½ cup); add standard feeder (113g each all-purpose flour + water) and mix well. Cover starter; let rest at room temp for 24 hours.
Day 3:
You’ll probably begin to see some bubbling, smell a fresh, fruity aroma, and see some expansion. Start feeding twice a day (about every 12 hours). Begin each feeding with 113g starter (discard excess) + standard feeder. Cover starter; let rest at room temp.
Days 4–7 (Or More):
Your starter should be doubled with lots of bubbles by end of day 5. If not, don’t worry. Continue to discard and feed starter every 12 hours on days 4–7 (or more) until vigorous.
Once Vigorous, Discard
all but 113g starter; feed it and let rest at room temp 6–8 hours. Remove starter needed for recipe (if more than 1 cup needed, add standard feeder without discarding a couple times until you have enough for the recipe plus 113g to keep and feed again).
Reserve
113g starter in its permanent home (vessel). Feed it and let it rest at room temp several hours before covering; store in the refrigerator and feed it once per week (for longer storage, freeze and don’t feed it).
Bread Making & Baking Equipment
- Flexible bowl scraper: for scraping dough in the bowl (and for handling and shaping dough)
- Bench scraper: for handling (or dividing) the dough
- Banneton: a proofing basket that gives loaves shape (an 8-inch or 9-inch round or a 10-inch or 11-inch oval are good sizes)
- Parchment paper: for lining the pot
- Bread lame: meaning “blade” in French, it’s typically a wooden-handled razor for scoring bread before baking so moisture and gases can escape
- Heavy lidded pot: such as a Dutch oven for baking the bread
- Thermometer: to check the temp of the bread
Recipe for Naturally Leavened Sourdough
Now that the big day’s arrived and you’re ready to make bread, simply follow along with our Sourdough Bread recipe and you’re on your way to sourdough bread nirvana. Note, this recipe is a no-knead, stretch-and-pull procedure. Simple. Right?
A couple of points about ingredients (even though it’s only four!):
For the flour, we recommend using a high-protein bread flour (12–13% protein). That’s because protein levels correspond to gluten levels. Gluten is the tough elastic substance that lets bread rise because it stretches and holds the gas bubbles formed by the yeast (in this case, wild yeast, which is naturally present in the air). So you want a high protein (higher gluten) flour.
For the salt, you can use any granulated (fine sea, table, or kosher salt), but we don’t recommend using iodized salt, as it can leave a bitter aftertaste.
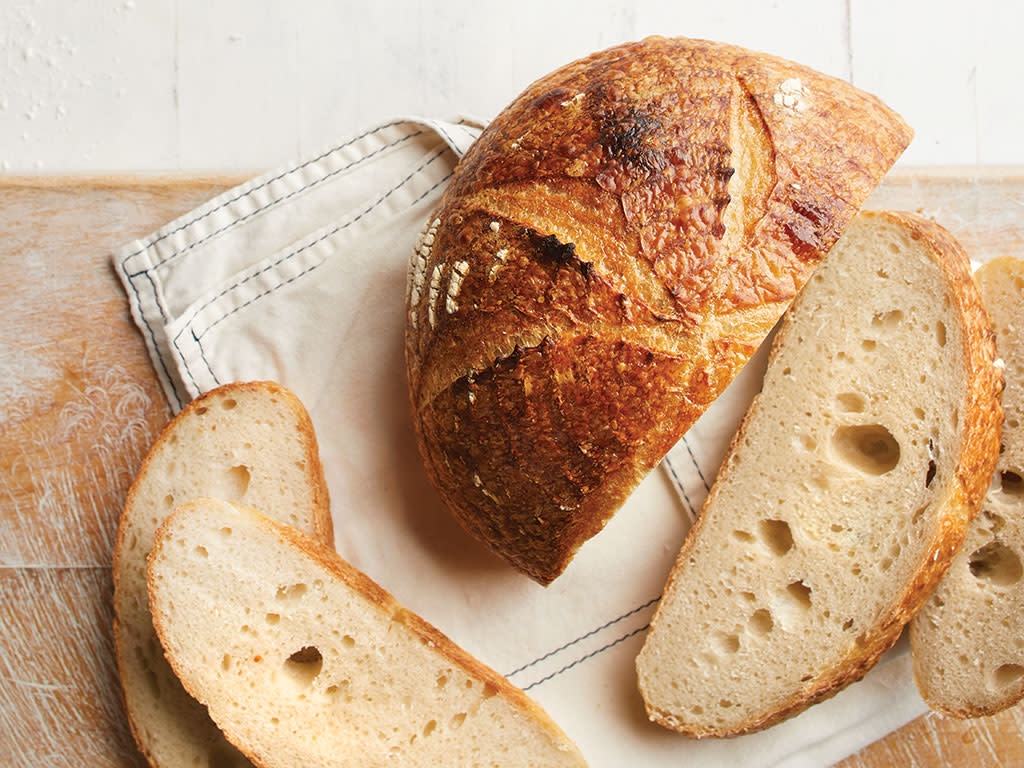
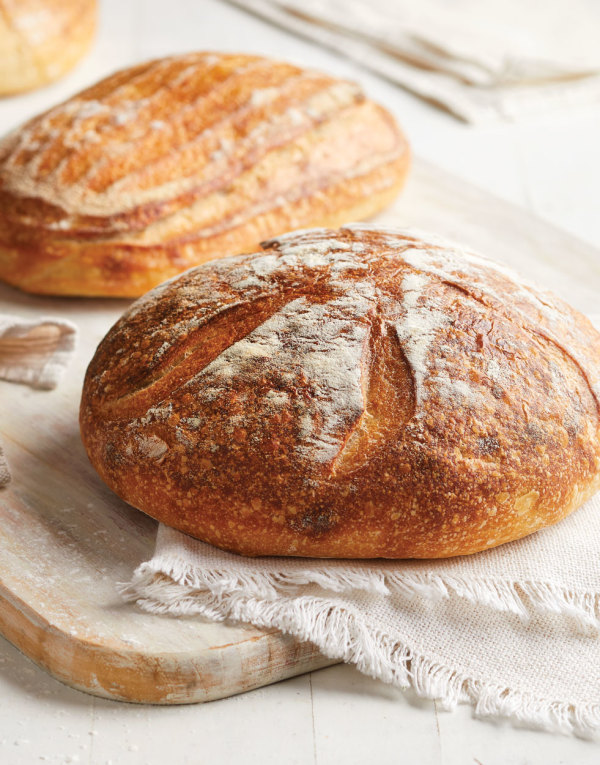
Baking the bread in a Dutch oven (or other heavy lidded pot) properly maintains the high heat and produces steam inside the pot, resulting in crusts of substance — snap, crackle, and pop.
Let’s dough it!
Product Recommendations
Interested in cooking? Need some supplies?
Check out some of the tools we like. All products featured on Cuisine at Home are independently selected by our editors; we may earn an affiliate commission from qualifying purchases through our links.


